We can't find the internet
Attempting to reconnect
Something went wrong!
Hang in there while we get back on track
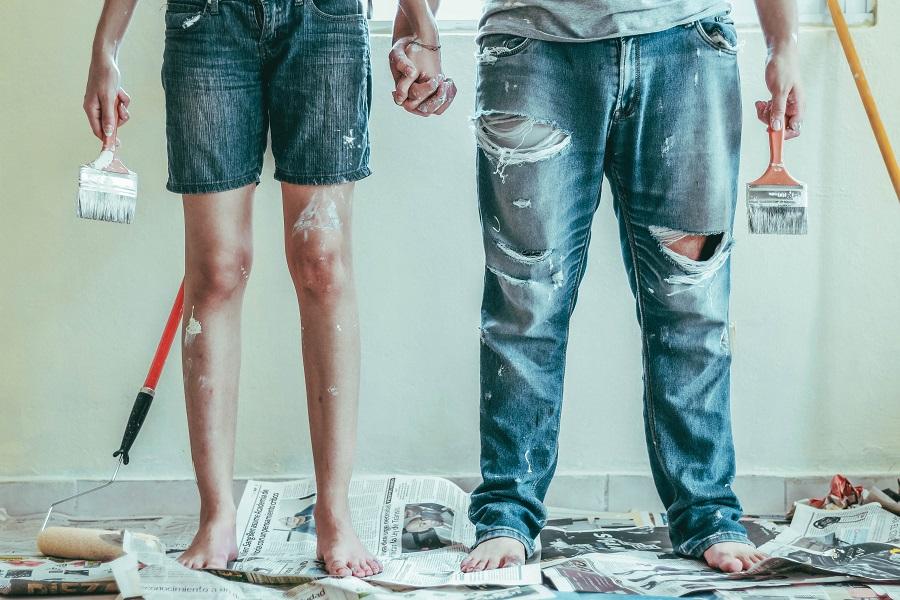
The Top 10 Techniques for Painting Like a Pro
Do what the pros do for a professional-looking paint job.
Painting on a rainy day will result in drips and delayed drying. If you must paint in humid conditions, take your time and use slow-drying paint to repair any mistakes before going on to the next layer. But don't overwork yourself since it will show after you're done.
Before applying new primer and paint, any cracked, flaking, or peeling areas should be carefully sanded or scraped (and then thoroughly rinsed) because the weight of the new coat will pull the old paint loose. "If you don't attack that first, you'll just end up squandering your time and money," says Tom Lee, Behr's Senior VP of Consumer Marketing. It's also possible that greasy places will need to be washed with soap and then rinsed with clean water. Otherwise, wipe down the surface with a moist cloth to ensure that the paint has a clean, dust-free surface to adhere to.
If you're going to spend a lot of money on paint, you don't want to skimp on the application. High-end painter's tape is the real deal when it comes to sealing out drips and blurs, and good brushes and roller coverings provide superb coverage so you don't waste time and paint on re-application.
Because your walls have texture, you'll want a thicker nap on your roller cover so it can reach into cracks and provide comprehensive covering. If you're painting concrete walls, for example, you'll want to use a thick nap. A thin nap is ideal for drywall, though. If you choose a nap that is too thick, you may end up having texture where you don't want it, so be ready to tell the salesperson what you're painting when you buy your painting supplies.
You will never be sorry for taking the effort to cover your flooring, furniture, and hardware before starting a painting project. Drop cloths are necessary, and doorknobs may be easily protected with little plastic sandwich bags taped shut.
You might be swayed to skip this five-minute step if you're impatient, but don't.
If you already have a clean, flat surface, paint-and-primer combos are fine. However, if the wall has any problems or it's been more than eight years since you last painted, bite the bullet and use a different primer. Use a bonding primer like Benjamin Moore's Insl-x Stix Waterborne Bonding Primer or KILZ Adhesion Interior & Exterior Bonding Primer to cover a particularly difficult surface (such as glass or high-gloss paint).
Get a fair estimate of how much paint you'll truly need from the paint salesperson so you can buy it all at once. Then, instead of using one gallon at a time, mix all of the paint together thoroughly in one huge container. This is referred to as "boxing" your paint, and it ensures that your color is constant from start to finish.
Today's premium paints are easy to apply, and you've already selected a good roller cover (right? ), so you won't need to apply much pressure. Use an extension pole to reach the most possible area with the least amount of work – and without hurting your back.
Use your roller to apply paint from the ceiling downward after you've cut in your edges at the ceiling and baseboard using a brush. Pros paint directly over their mistakes as they work their way down the wall, but amateurs typically have telltale drips and spatters at the end of a paint job. It's preferable to leave an area alone after it begins to dry. Reapplying the paint might leave traces and color streaks on the surface.