DIY Epoxy Flooring Step by Step Guide to a Flawless Surface

Unlock the secrets to a stunning and resilient epoxy floor with our comprehensive DIY guide to preparation and application.


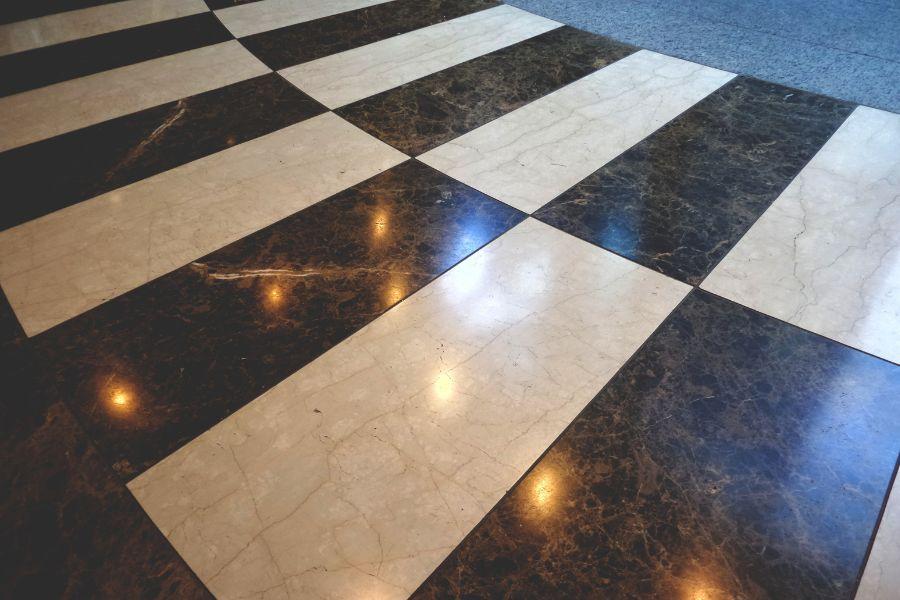
In the dynamic world of durable flooring solutions, epoxy stands tall as a versatile contender, adept at offering both aesthetic appeal and robust functionality. Ideal for spaces such as garages, driveways, and workshops, epoxy flooring acts as a sentinel, guarding your surfaces against moisture, grease, and everyday wear and tear. The hallmark of epoxy is its glossy finish that encapsulates beauty and endurance in one seamless sweep. Yet, achieving that perfect finish is no mere feat—it demands meticulous preparation and precise application. In this comprehensive guide, we unravel the step-by-step process of installing an epoxy floor yourself, a journey that spans from evaluating the suitability of your floor to applying the final touches for a sparkling surface. Immerse yourself in this manual to transform your mundane floor into a canvas of strength and elegance, and unlock the potential to enhance your space with a touch of professionalism and pristine aesthetics.

Crafting a perfect epoxy floor involves meticulous preparation and precise application. Here is a step-by-step guide to help you epoxy your floors on your own:

Step 1: Determine the Suitability of Your Floor

  • Moisture Test: Tape a plastic garbage bag to the floor and leave it for 24 hours. If you find moisture underneath after removing it, consider other flooring options.
  • Sealant Test: Pour water on your floor to check if it has been sealed; if the water beads up, using epoxy might not be the best option.
  • Curing New Concrete: For new concrete surfaces, wait at least 28 days to allow it to cure fully before applying epoxy.

Step 2: Gathering Materials

Gather all necessary materials including:

  • Epoxy kit (which should include epoxy and hardener)
  • Concrete filler for crack repairs
  • Degreaser
  • 180-grit sandpaper
  • Nap roller
  • Paintbrushes
  • Paint trays
  • Protective gear (mask, gloves, and goggles)

Step 3: Prepare the Floor

  • Clean the Floor: Start with a thoroughly cleaned floor. Use a degreaser to remove stains, then rinse the floor well.
  • Sand the Surface: Sand the floor with 180-grit sandpaper to create a slightly rough surface that allows for better adhesion.
  • Vacuum: Vacuum the floor to remove all dust and debris.
  • Repair Cracks: Fill any cracks or holes with a concrete filler and allow it to dry.

Step 4: Apply Epoxy Primer

  • Mix Primer: Prepare the epoxy primer as per the instructions on the kit.
  • Apply Primer: Using a nap roller, apply the primer evenly on the floor. Let it dry for 12-24 hours.

Step 5: Apply Epoxy Paint

  • Mix Epoxy Paint: Following the instructions in your epoxy kit, mix the epoxy paint.
  • First Coat: Apply the first coat of epoxy using a nap roller. Use a paintbrush to reach corners and edges. Allow it to dry for 12-24 hours.
  • Second Coat: If necessary, apply a second coat of epoxy paint and allow it to dry for an additional 12-24 hours.

Step 6: Apply the Top Coat (If Necessary)

  • Mix Top Coat: If your kit includes a top coat, mix it according to the instructions.
  • Apply Top Coat: Use a clean nap roller to apply the top coat evenly across the floor. Allow it to dry for 12-24 hours.

Step 7: Cure the Epoxy

Allow the epoxy to cure fully. This process can take anywhere from 3 to 7 days, depending on the product specifications.

Step 8: Final Inspection

After the curing process, inspect the floor to ensure it’s smooth and spotless. Your new epoxy floor is now ready to use.


Note: Always work in a well-ventilated area and wear appropriate protective gear to ensure safety during the application process.